Saving energy is important these days and so, many users are used to putting their PCs to sleep in a way that it awakes and restarts their work when required. However, apparently, there are some devices that can interrupt the sleep process and wake the PC all of a sudden causing your work schedule to be disturbed. Plus. it ends up consuming more energy and thus, discharging the battery sooner.
But, there’s this new feature by Windows 10 that helps you to choose which devices can allow your PC to wake up and which don’t. Interesting, isn’t it? Let’s see how to enable or disable this feature.
Method 1: Using Command Prompt
Step 1: Click on the Start button and type Command Prompt in the search field. Right-click on the result and select Run as administrator to run Command Prompt in Admin mode.

Step 2: In the Command Prompt window run the below command and hit Enter:
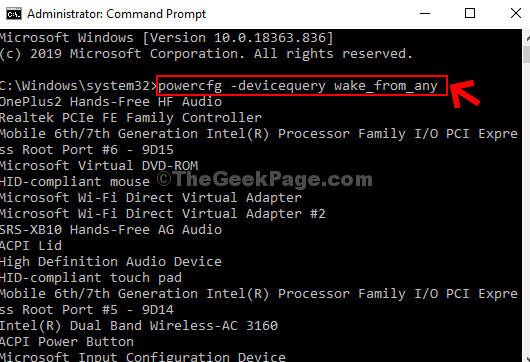
powercfg -devicequery wake_from_any

This will open up a long list of all the devices that can wake up your PC from sleep mode. From here, you can select the device name that you want to enable to wake up your computer.
Step 3: Now, if you have selected the device that you want to allow your PC to wake up, execute the command in the below format and hit Enter:
powercfg -deviceenablewake "Name of the Device"
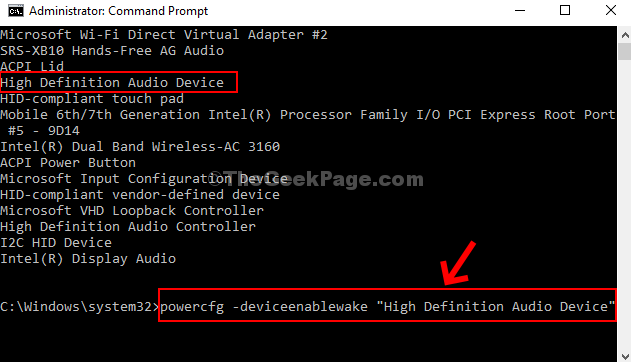
For instance, here we want to allow the device “High Definition Audio Device” to wake up the PC, so, the command will look like this as below:
powercfg -deviceenablewake "High Definition Audio Device"

*Note – You can replace the Device_Name as per your requirement.
Step 4 : – If you want to disallow the device from waking up the computer, then run the command given below
powercfg -devicequery wake_armed
Step 5: – Now, run the command given below to disable a particular device fromm waking uo the PC
powercfg -devicedisablewake "HID Keyboard device"

Now, simply restart your PC, and you are done setting up which device wakes up your PC. You can also try the 2nd method in case this doesn’t work.
Method 2: Using Device Manager
Step 1: Press the Windows key + X together on your keyboard and click on Device Manager from the context menu.

Step 2: Now, for instance, if you want to allow the Intel(R) Dual Band Wireless-AC 3160 to wake up your PC, then go to Network Adapters and expand it. Then, right-click on Intel(R) Dual Band Wireless-AC 3160 and click on Properties.

Step 3: In the Intel(R) Dual Band Wireless-AC 3160 Properties window, click on the Power Management tab, check or uncheck the box next to Allow this device to wake the computer option based on whether you want to allow it or prevent it to wake your computer. Press OK to save the changes and exit.

That’s all! And, you are done setting the desired device to allow or prevent your computer from waking up.