You double-click the .msu file. A progress bar blinks, then “Access denied” — or the installer just dies with no message at all. Every single time. You’re an admin on your own PC. And Windows still says no.
Why This Happens
WUSA (the small tool that installs .msu update files) got stricter in the July update. Path-length limits tightened, and files buried deep inside folders now fail before extraction even starts.
Access denied is a different flavor. Corporate group policies (the rules IT pushes to company PCs) started blocking standalone installers outright in July 2026. And sometimes WUSA’s extractor itself is simply broken on a machine.
So the workarounds below all share one idea: stop asking WUSA nicely. Go around it.
Fix 1 – Move the File to C:\ and Shorten the Name
Dumb-sounding fix, real results. WUSA chokes on long paths, so give it the shortest one that exists.
1 – Open File Explorer and find your .msu file. It’s usually in Downloads.
2 – Press Ctrl + X to cut it.
3 – Then, go to the This PC section in the left sidebar, then open the C: drive.
4 – Press Ctrl + V to paste the file there.
5 – Then, right-click the file and choose Rename.
6 – Name it update.msu.
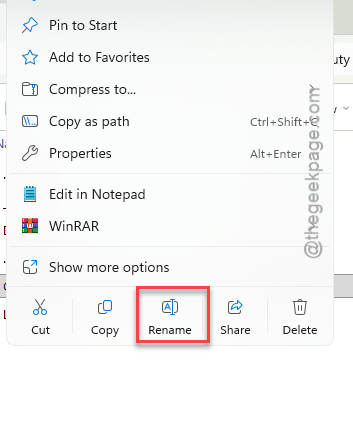
7 – Double-click it to run the installer again.
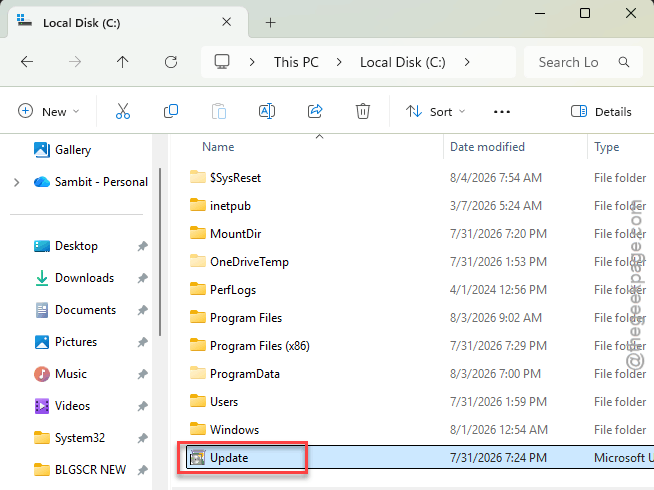
Shortest possible path, shortest possible name. And it works more often than it has any right to.
Fix 2 – Install It With PowerShell Instead
The modern route. PowerShell’s deployment command ignores the legacy WUSA restrictions completely.
1 – Right-click Start and choose Terminal (Admin).
2 – Type the command below and press Enter. Keep the quotes.
Add-WindowsPackage -Online -PackagePath "C:\update.msu"
3 – Wait for the progress line to finish, then restart if it asks.
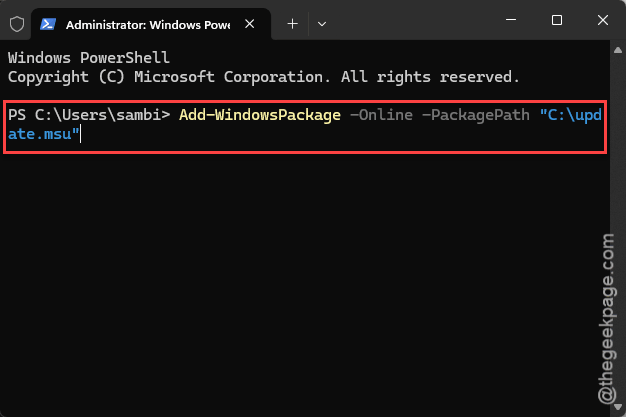
One command. Done. This assumes the file sits at C:\update.msu from Fix 1 — adjust the path if yours lives somewhere else.
Fix 3 – Extract the Update Manually
Try extracting the update manually to fix the issue.
1 – Click Start, type “cmd”, right-click Command Prompt, and choose Run as administrator.
2 – Create a folder for the contents by running the command below.
mkdir C:\UpdateFolder
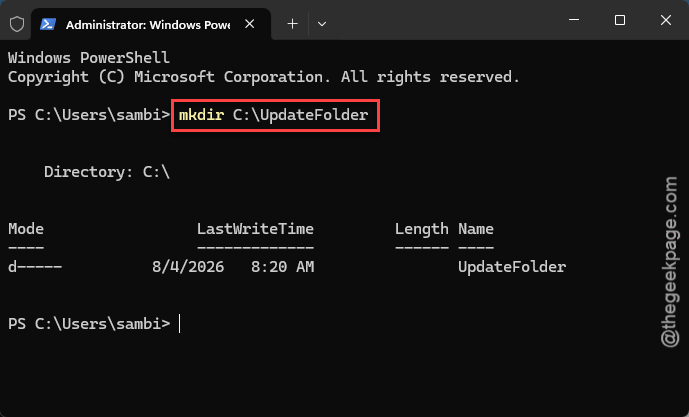
3 – Extract the .msu into that folder with this command.
expand -F:* C:\update.msu C:\UpdateFolder
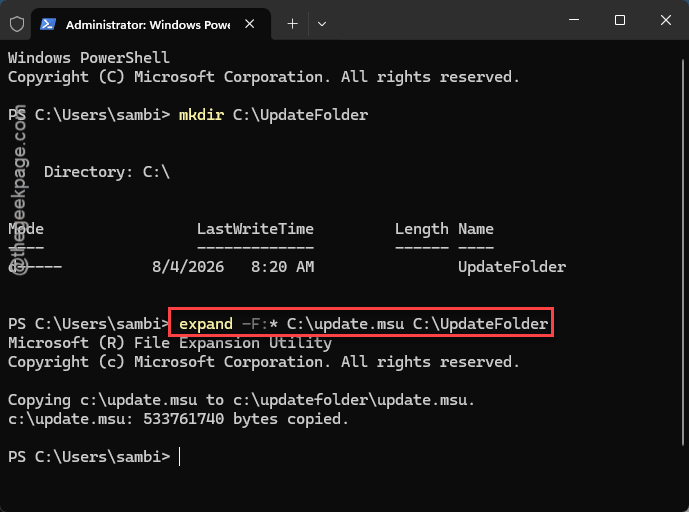
4 – Look inside C:\UpdateFolder. You’ll see a .cab file carrying the update’s name — that’s the actual payload.
Nothing installs yet. This step just frees the files for Fix 4.
Fix 4 – Inject the CAB With DISM
Now feed that extracted .cab to DISM. It’s the deployment tool Windows itself uses, and it skips the Windows Installer service entirely — along with everything blocking it.
1 – In the same admin Command Prompt from Fix 3, type the command below, swapping “update.cab” for the actual .cab filename you found. Then press Enter.
DISM /Online /Add-Package /PackagePath:C:\UpdateFolder\update.cab
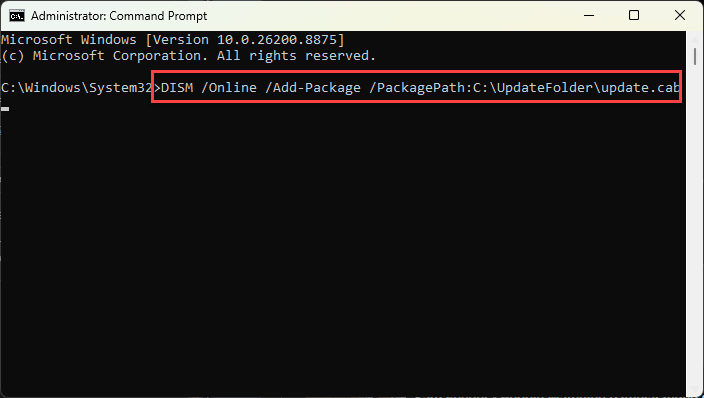
2 – Wait for it to report the package was added.
3 – Restart the PC.
And that’s the same install WUSA would have done. Just without WUSA anywhere near it.
Fix 5 – Unblock Installers in Group Policy
On a work machine — or a PC that used to be one? A policy pushed in July 2026 blocks vendor-signed standalone updates. If your Windows edition has the Group Policy editor, you can switch the block off.
1 – Press Windows + R, type “gpedit.msc”, and press Enter.
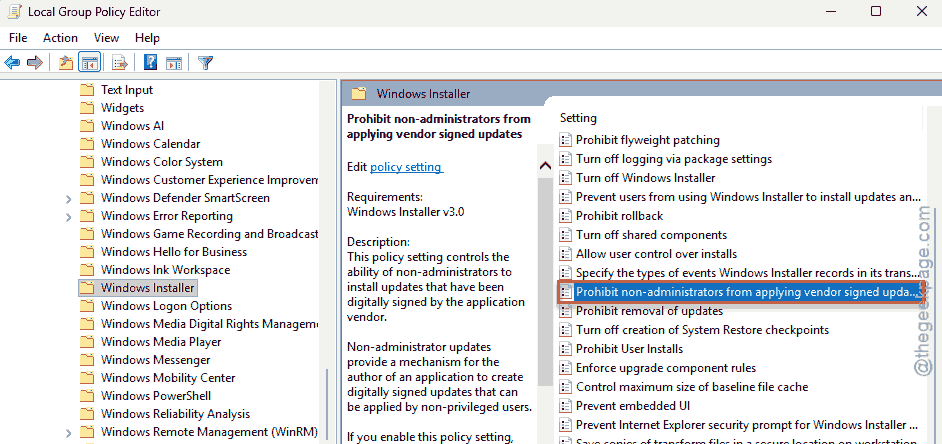
2 – In the left panel, go to Computer Configuration > Administrative Templates > Windows Components > Windows Installer.
3 – Double-click Prohibit non-administrators from applying vendor signed updates in the right-hand list.
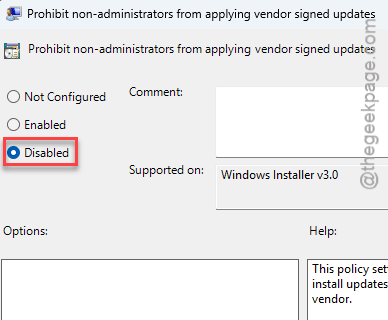
4 – Set it to Disabled.
5 – Click OK and try the .msu again.
But if your PC is still managed by an actual company, this setting snaps back at the next policy sync. Talk to IT instead — fighting their policy server is a losing game.
How to Prevent This
– Save .msu files straight to C:\ with short names (update.msu beats the 80-character default). Deep folders are the enemy now.
– Learn the PowerShell one-liner from Fix 2. It’s the reliable path going forward, not the emergency workaround.
– On managed machines, route update requests through IT. Faster than debugging policy blocks.
– Download updates only from the Microsoft Update Catalog. Random mirror sites add their own problems.
People Also Ask
Why does WUSA say access denied even though I’m an administrator?
Because the block isn’t about your account. Group policies from mid-2026 can prohibit standalone vendor-signed updates no matter who runs them. And WUSA also fails on long file paths. Move the file to C:\ first — if it still fails, install it through PowerShell or DISM instead.
What’s the difference between WUSA and DISM?
WUSA is the small double-click installer for .msu files, and it leans on the Windows Update machinery. DISM works a level deeper — it services the Windows image directly and skips the installer service. That’s why an update that fails through WUSA often installs cleanly through DISM.