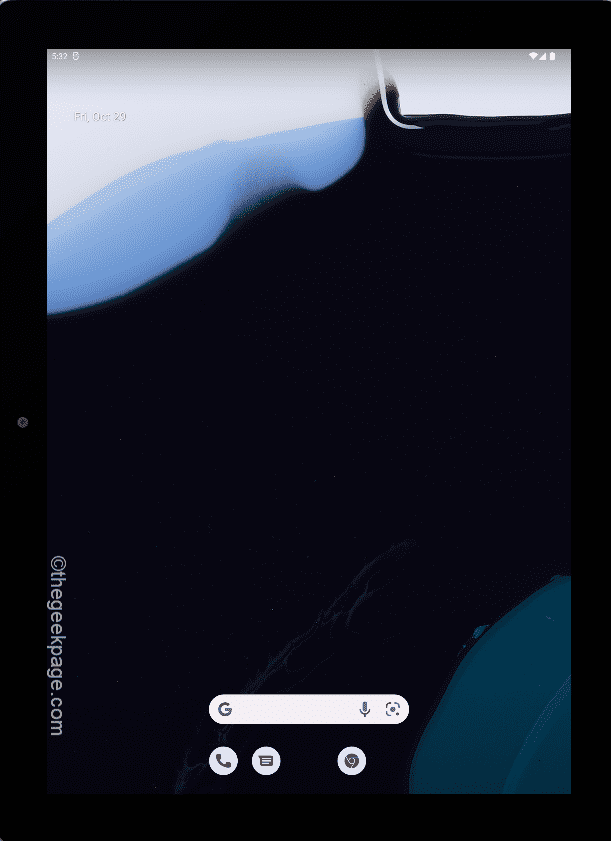
Google has just unveiled their new version of OS based on their new mobile OS Android 12, Android 12L. This new OS is for Android tablets, Chromebook devices running on Chrome OS. This new tablet OS has got all the features of Android 12, especially the main core feature – Material You design. So, if you want to taste the Material You design in the tablet form factor, this article is just for you.

How to install Android 12L on Windows 10, 11, and Mac
You can experience the new Android 12L in the latest Android Studio. So, whether you have a Windows 10 or 11 or a MacBook, you can install the new Android 12L and enjoy it. Follow these step-by-step instructions.
Step 1 – Download Android Studio
1. At first, go to the Canary build of Android Studio.
2. In the ‘Canary build’ section, tap on the “Download Chipmunk (2021.2.1) Canary 3“.

3. After that, scroll down through the agreement page.
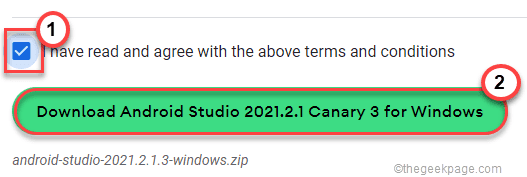
4. Then, check the “I have read and agree with the above terms and conditions” box.
5. Next, click on “Download Android Studio 2021.2.1 Canary 3 for Windows“.

Just for the downloading process to be complete. Once it is complete, go to the location where you have just downloaded the file.
7. Then, extract the downloaded zip file in a location on your device.

8. Then, double click on the “android-studio” folder.

9. Now, open the “bin” folder to access it.
10. Inside this bin folder, you will find the “studiox64“.

This will start the Android Studio.
11. Select “Do not import settings” as you are installing a fresh version.
12. Then, tap on “OK“.

Step 2 – Configure Android Studio
1. When the Android Studio opens up, tap on “Next” to proceed.

2. Keep on clicking on “Next” until you reach the License page.
3. On the licensing page, click on “android-sdk-license” on the left-pane.
4. Then, select “Accept“.
5. Following the same way, accept the “intel-android-extra-license“.
6. Finally, tap on “Finish“.

After accepting the license, it will download the Android Studio.
Once you are done, you will be on the Android Studio page.
Step 3 – Download and USE aNDROID 12L
1. On the Android Studio page, tap on the “Projects” on the left-hand pane.
2. Now, on the right-hand side, tap on the “More Actions“.
3. Here, select the “Virtual Device Manager“.


This will lead you to the Device Manager page.
4. Now, tap on the “Create virtual device“.

5. When you land on the ‘Select Hardware’ page, tap on the “Tablet” section and choose “Pixel C“.
You can choose any device of your liking as Android 12L will be emulated on your selected device.
6. Then, tap on “Next” to proceed further.

This will open up the System Image window.
7. Here, tap on the “Download” button just beside the ‘Sv2‘.

4. Now, scroll down through the user agreement and accept it.
This will commence the downloading process.
5. Once the downloading process is finished, tap on “Finish“.

6. Coming back to the Device Manager, tap “Next“.

This will take you to the Android Virtual Device (AVD) window.
7. Here, you can name the device as you prefer.
8. Then, tap on either “Portrait” or “Landscape” depending upon the orientation of the device you prefer.
9. Finally, click on “Finish” to complete the process.

You will be back at the Device Manager screen.
10. Now, tap on the Play icon ▻ to run the Android 12L in the Pixel C tab.

This will open the Android 12L on your computer. You can use it to check what has changed and taste the new Material You design signature.