Reinstalling a network card adapter in Windows 10 is a simple task. Sometimes if the network card is not working correctly or for any other reason, you may need to reinstall the card adapter on your computer. Follow these easy instructions to uninstall and reinstall the network card on your computer.
How to reinstall a network adapter card
In the first step, we will uninstall the network adapter. Then in the next step, we will reinstall it.
STEP 1 – Uninstall network adapter
1. You have to press Windows key+R.
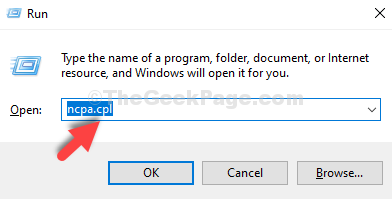
2. Then type “ncpa.cpl” in the Run window and then hit Enter.

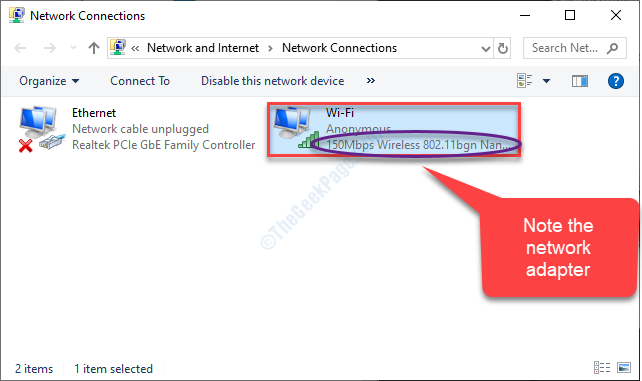
3. Here you have to note down the adapter you are currently using.

4. Again open a Run window.
5. Then, write “devmgmt.msc” and click on “OK“.

6. Then, expand the “Network adapters” section.
7. Now, in order to uninstall the particular adapter, right-click on the problematic adapter and then click on the “Uninstall device“.

Now, the network adapter driver will be uninstalled from your system.
STEP – 2 Reinstall the network adapter
Now, we will re-install the uninstalled network adapter again on your device. Follow these easy methods-
Method – 1
1. In the Device Manager, click on “Action“.
3. After that, click on “Scan for hardware changes“.

Method 2 –
Restart your system. After your computer boots up, the network driver will be re-installed.
NOTE –
In case if the network adapter doesn’t automatically reinstall, you can download the driver for your computer and install it manually.
a. Open the Device Manager and check out the name of the adapter.
b. Open a browser window and search for the network driver.
c. Download it from a trusted source (like the manufacturer website) and install it on your computer.