Lists are the collection of items that are under a particular category. Excel has four built-in lists such as month abbreviations, month full names, day of week abbreviations, and day of week full names. In certain scenarios, inbuilt list which are available is not sufficient. Excel supports us to create our own list according to our requirement which is referred as custom list. You can type cell details and drag either horizontally or vertically so that the sequence can be automatically populated. You can even import the custom list across several workbook or sheets. Here are the steps to create a custom list in excel.
Method 1: Create a custom list
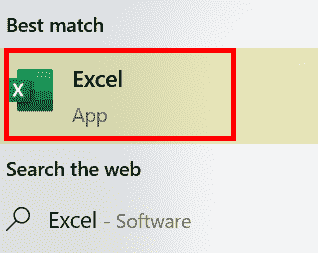
Step 1: Open MS Excel by typing Excel in the search space in the left side corner.

Step 2: Double click Excel to open.

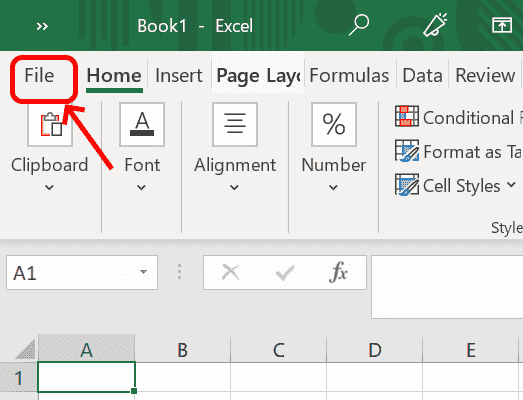
Step 3: Click File.

Step 4: Go to Options

Step 5: In Excel Options, Scan to Advanced and locate General section.
Step 6: In General Section, we need to create our own list by clicking the Edit Custom Lists.

Step 7: On clicking the Edit Custom lists button, Custom Lists screen will open where the list can be added according to the requirement.

Step 8: Click New list and write the list in the List entries box. List items can be separated by comma or by pressing enter. Once the list entries are completed, click Add.

Step 9: After you click Add, the list entries will be added to the custom lists box. Click OK.

Step 10: Now the custom list is added to the excel sheet. You have to simply enter the first word from the list (English as per the example in the above custom list) and drag the fill handle to complete the list.

Type the first word in the cell and drag either horizontally or vertically to get auto populated in rows or columns.
Method 2: How to import a list of items from sheet to custom list
Custom list can be created from the details present in the spreadsheet and then it can be imported as follows
If you have numerous items which is already present in the spreadsheet, you can use Import feature to create a new custom list. The list created can be reused wherever without reentering the item list.
Step 1: To Open the Custom Lists screen, Go to Options, Select Advanced. In General section, Click Edit Custom list.
Step 2: Enter the cell range of the list that has to be imported in the Import List from cells box. If you are not able provide the cell range details, then you can use the cursor to drag through the cell lists for the range details which has to be auto filled.

Here in the above example, the cell range is Column A and rows starting from 2 to 6 so it is represented as $A$2:$A$6.
Step 3: Click Import
Step 4: Once Import is done, we can view the details in the List Entries.

Step 5: Now the custom list is created. You can use wherever needed.
Step 6: You can type the first cell details and drag vertically to auto populate in the column.

Step 7: If you want the cells to be filled row wise, then drag horizontally.

Method 3: Edit or delete the custom list
In case of any changes like addition or deletion in the exiting list, then select from Custom lists box and do the changes in the List Entries and click Add. By doing this, we are not creating a new list just updating the existing one.
In the example, we are removing 2 entries from the list entries.

After removing the unwanted entries, click Add to update the list.

Once the custom list is updated then, the auto fill will be updated accordingly.

Deletion of entire list is performed by selecting from the custom lists box and click Delete.

Confirm this deletion permanently from custom list by clicking OK.

This is how custom list is created, updated or deleted in EXCEL.