The red-eye correction feature corrects the red eyes from your snapped photos in iPhone. But, when the onboard AI can’t detect the red-eye properly in the picture, it shows this “Didn’t find a red-eye to correct” message. There are a few things you can do to avoid this issue. When you do that, you will get those red-eye removed from your photos in iPhone.
Fix – Crop the image and retry
The AI may not recognize the red-eye in several situations. In most of the cases, when the image is too big, iPhone may fail to detect the exact red-eye spots in the image and remove that. In that case, you must crop the image and remove the red-eye from the picture.
Step 1 – Open the image in the Photos.
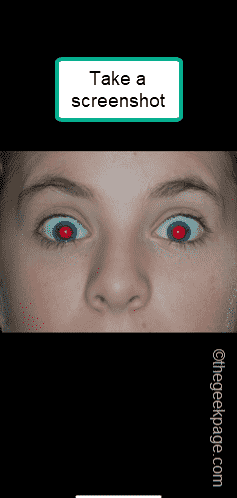
Step 2 – After opening the image, hold the Volume Up+Power button to take the screenshot of it.
Step 3 – After this, tap the small screenshot in the corner to edit that.
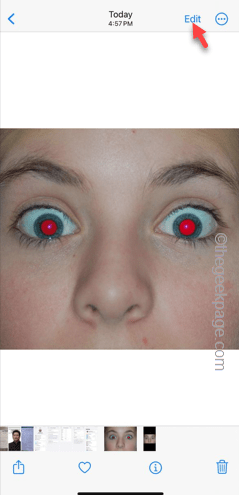
Step 4 – Later, tap the “Edit” option.
Step 5 – Now, use your two fingers to zoom the image so that you can tap the red-eye regions carefully.
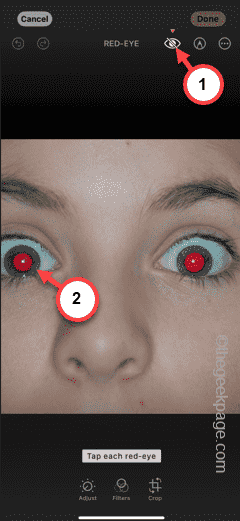
Step 6 – After this, hit the 👁 “Eye” icon in there to start the red-eye removal process.
Step 7 – Just tap the red-eye in the picture. Your iPhone will automatically recognize the red-eye and clear it from the image. If it is unsuccessful in removing the red-eye, you can just double-tap the region to clear the red-eye effect from the image.
Step 8 – This way, remove the red-eyes from the image and tap “Done“.
That’s it! You have got your red-eye free image ready.


